Showing posts with label Kelleigh Ratzlaff Designs. Show all posts

Saturday, May 25, 2013

Make A Wish Blog Hop - Sassy Studio Designs New Release

Hi Everyone,

Welcome to the "Make A Wish" blog hop, featuring all the new releases from Sassy Studio Designs.  You should have arrived here from Mary's blog, but if this is your first stop and you want to see all the beautiful projects from the Design Team you can begin the hop here.

The theme for this hop is anything goes, but must include a wish sentiment.  The image I used from the release is Snow Pin-Up - how cute is she?  I am combining two new products for this blog hop, as well as 'Snow' I am using a brand new template from Kelleigh Ratzlaff called Sassy Purse (with a name like that I just had to use it didn't I?)  Here is a look at my project.

This is actually the front of the purse (the flap) which I have decorated with swirls and roses (made using Elizabeth Crafts dies.)  Obviously I am using what would traditionally be the backside of the purse for my main decoration - but this is such a cute/versatile little bag, I really think anything goes.


So what about the "wish sentiment"?  That is inside - I warn you that it is a bit naughty, so if you blush easily don't look at the next picture :)


Here is a little look at the 'goodies' I am enclosing.


Thank you for stopping by today and checking out my project.  I hope I have inspired you to get creative (or at least made you smile) I would love it if you would leave a comment for a chance to win the 'Snow Pin-Up' for yourself.

Your next stop is with the extremely talented Ruza Rebel (that name says it all, you know you are in for a treat when you visit her blog!)

Here is a list of all the stops (in order) along your way - and don't forget to join us for the PARTY tonight on the blog at 7.00pm (PST)


  1. Sassy Studios
  2. Adina
  3. Alaine
  4. Carrie
  5. Chris
  6. Darlene
  7. Debbie
  8. Greg
  9. Jacki
  10. Jackie
  11. Judy
  12. Jodi
  13. Karal
  14. Kathy
  15. Kim
  16. Lindsay
  17. Mary
  18. Michelle (you are here.)
  19. Ruza
  20. Sara
  21. Susan
  22. Sassy Studio Designs

Until next time.

Michelle

Monday, April 29, 2013

Christmas? In April?

Hi Everyone

Christmas? In April?  That would be crazy, right?  Well, after living in Colorado for 14 years, I have seen more snow this month, than over any Christmas that I've lived here.  So, no wonder I am a 'little' out of sync with the seasons!!

Here is my project for today, it is a new file from Kelly Ratzlaff over at The Digichick - it is called a "Puff Box".


As always with Kelleigh's files I love how easily this came together.  Just cut this with your machine, (or by hand with scissors!) and just fold along the score lines and insert the handle into the slots - that's it done!

I added a little snowflake window, and the holes on top for the handles, but you can see pictures of the original Puff Box here.

Here are a couple more close-ups that show the embellishments I used.


The file is cut with my Cameo, the paper is from 'The Winter Magic Stack' (DCWV), the snowflake is a MS punch, then I added a little 'bling' and some mini sleigh bells.

I feel sure that this little box is going to come in very handy around December (and more than likely well before that) for some yummy little goodies from my kitchen.

Until next time.

Michelle

Monday, March 11, 2013

Matchbox

Hi Everyone

Sorry I haven't been around for a few days, but I have been busy this weekend moving my craft room from upstairs back down to the basement - it kept both my husband and myself busy all weekend.  My room was repainted, and we rearranged the furniture - now I have to organize all my 'stuff'.  I will post pictures when it is all clean and organized.

So on with today's project.  This is an updated file from Kelleigh Ratzlaff over at The Digichick.  It is a super simple Matchbox.  The possibilities are endless with this file, so many ways to decorate it.  Here is my 'take'.


I made up the actual matchbox in white cardstock and then simply folded a piece of black cardstock around it, bending the corners back to form lapels, added a red bow-tie and 3 little buttons.

Here is a look with the matchbox slid open slightly.


This would be great for putting a few little goodies in, it would be fun for Father's Day or even gifts for groomsmen, or a decoration for prom.

Thanks for stopping by today.  I hope you will check back this weekend for the new release from Sassy Studio and the blog hop "Follow The Yellow Brick Road".


Michelle

Thursday, February 21, 2013

Petal Box and Mini Cards

Hi Everyone

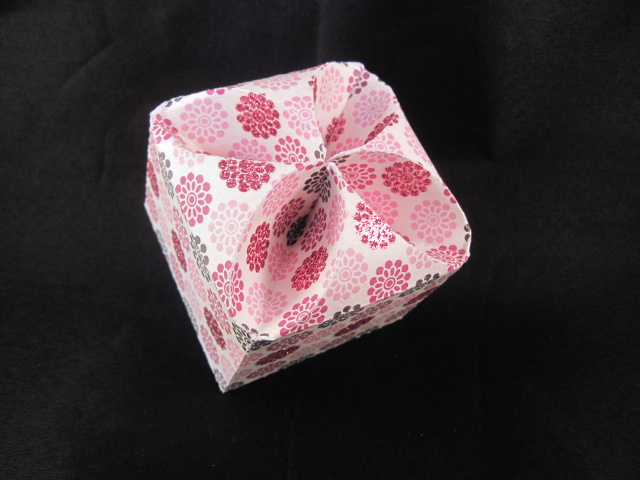
Today I am guest designer over at The Bugbytes - as always Pam thank you for allowing me to play in your space.  Today I have a really cute Petal Box which is a brand new file created by Kelleigh Ratzlaff which is available here at The Digichick.

Here is a look at the box (before I decorated it up.)


As with all Kelleigh's file this box is super easy to put together - I cut this on my Cameo, folded along the score lines and put some glue on a couple of the tabs DONE!

Before you see the decorated box, here is a look at the stamp on the bottom inside of the box - this is from a Stampin' Up set called 'Circle of Friendship'.


I wanted to make some mini cards to put inside, so I searched through my scraps and found enough matching paper to make 6 minis.  All the paper is from My Minds Eye 'Lost and Found' and the stamps are mainly from a Close to My Heart set called 'It's Your Day'.


Then I set about decorating the outside - armed with more scraps and stamps, this is how it turned out.


Thanks for stopping by today.

Michelle

Thursday, November 29, 2012

Drop Ornament

Hi Everyone

Hope you all had a great Thanksgiving.  My daughters were both home from university, and it was really lovely to see them and spend time with them - now I find myself playing catch-up with my blog (again!)

Today my project is this sweet 'Drop Ornament' designed by Kelleigh Ratzlaff over at The DigiChick, which can be found here.


This cuts out all in one piece, all you need is a little glue on each of the tabs and it assembles in minutes.  I decorated mine with snowflakes - the smaller ones are made using a Martha Stewart snowflake punch and the larger one is a file from the Silhouette online store.  I finished each of them off with a little bling.

Here is a closer look at the large snowflake - the layers are popped up with dimensionals.


The paper I used for this project is from DCWV 'Winter Magic' stack.  I am definitely going to make more of these ornaments, and I think I will add a window with acetate to 2 of the sides so you can peek in and see the goodies inside (I'm thinking M&M's in Christmas colours.)


Thanks for joining me today.

Michelle

Friday, November 2, 2012

A Trio of Canister Boxes

Hi Everyone

Today I have a very cute project, a canister box designed by Kelleigh Ratzlaff over at The Digichick.


There are just 2 pieces to this box, the body and the bottom - how easy is that?  Kelleigh has a great tutorial here, which I would really recommend taking a look at.  The boxes are super simple to put together, but folding the top down and getting it to look right can be a bit tricky - the first time I did it I folded 'petals' on the inside.

Here is a closer look at each box.


The paper I used is by Teresa Collins, and is from a line called 'Everyday Moments'.  If you have ever used Teresa Collins paper before you will know how thick and sturdy it is - great for making these boxes.  It is also double sided, here is a look at the box open so you can see the other side of the paper.


And a close look at the top of the box - so pretty.


Of course I had to finish the boxes off with a little tag using one of my favorite images from Krista Smith over at Saturated Canary called 'Boobie Love' (which is currently free in her shop.)


Don't forget to check out Kelleigh's Files at The Digichick, there is currently 40% off store-wide.


See you next time, thanks for stopping by.

Michelle

Thursday, October 11, 2012

Scary Sweet Shops

Hi Everyone

Today Kelleigh over at The Digi Chick has a new file available called "Soap Box."  When I saw it I started to think of how cute it would look as a Sweet Shop with squares cut in for windows so you could see the candy inside.  Here is what I did.


The papers that I used are from a very old DCWV Halloween stack, with some glitter paper (Target $1.00) and some spooky shapes from the online silhouette store.

As I said the files do not come with the windows cut in them, but they are very easy to add with the Silhouette Design Studio (I am already thinking ahead to cutting out hearts for Valentines Day.)


To make it a little more fun the ghost is on an action wobble spring (haven't played with those in ages - so much fun!)


Love the cat and his scary green eyes.


And lastly this one...(the bat is also on an action wobble spring.)


All the lettering was cut out of some scraps of black vinyl using my Silhouette Cameo, the font used is 'Harry Potter'.  Other items used: action wobble springs, googly eyes, acetate (for windows) and ribbon (Target $1.00 section).

Check out details for an online workshop with Kelleigh here, this will be taking place on October 21st.

Thanks for stopping by today.

Michelle